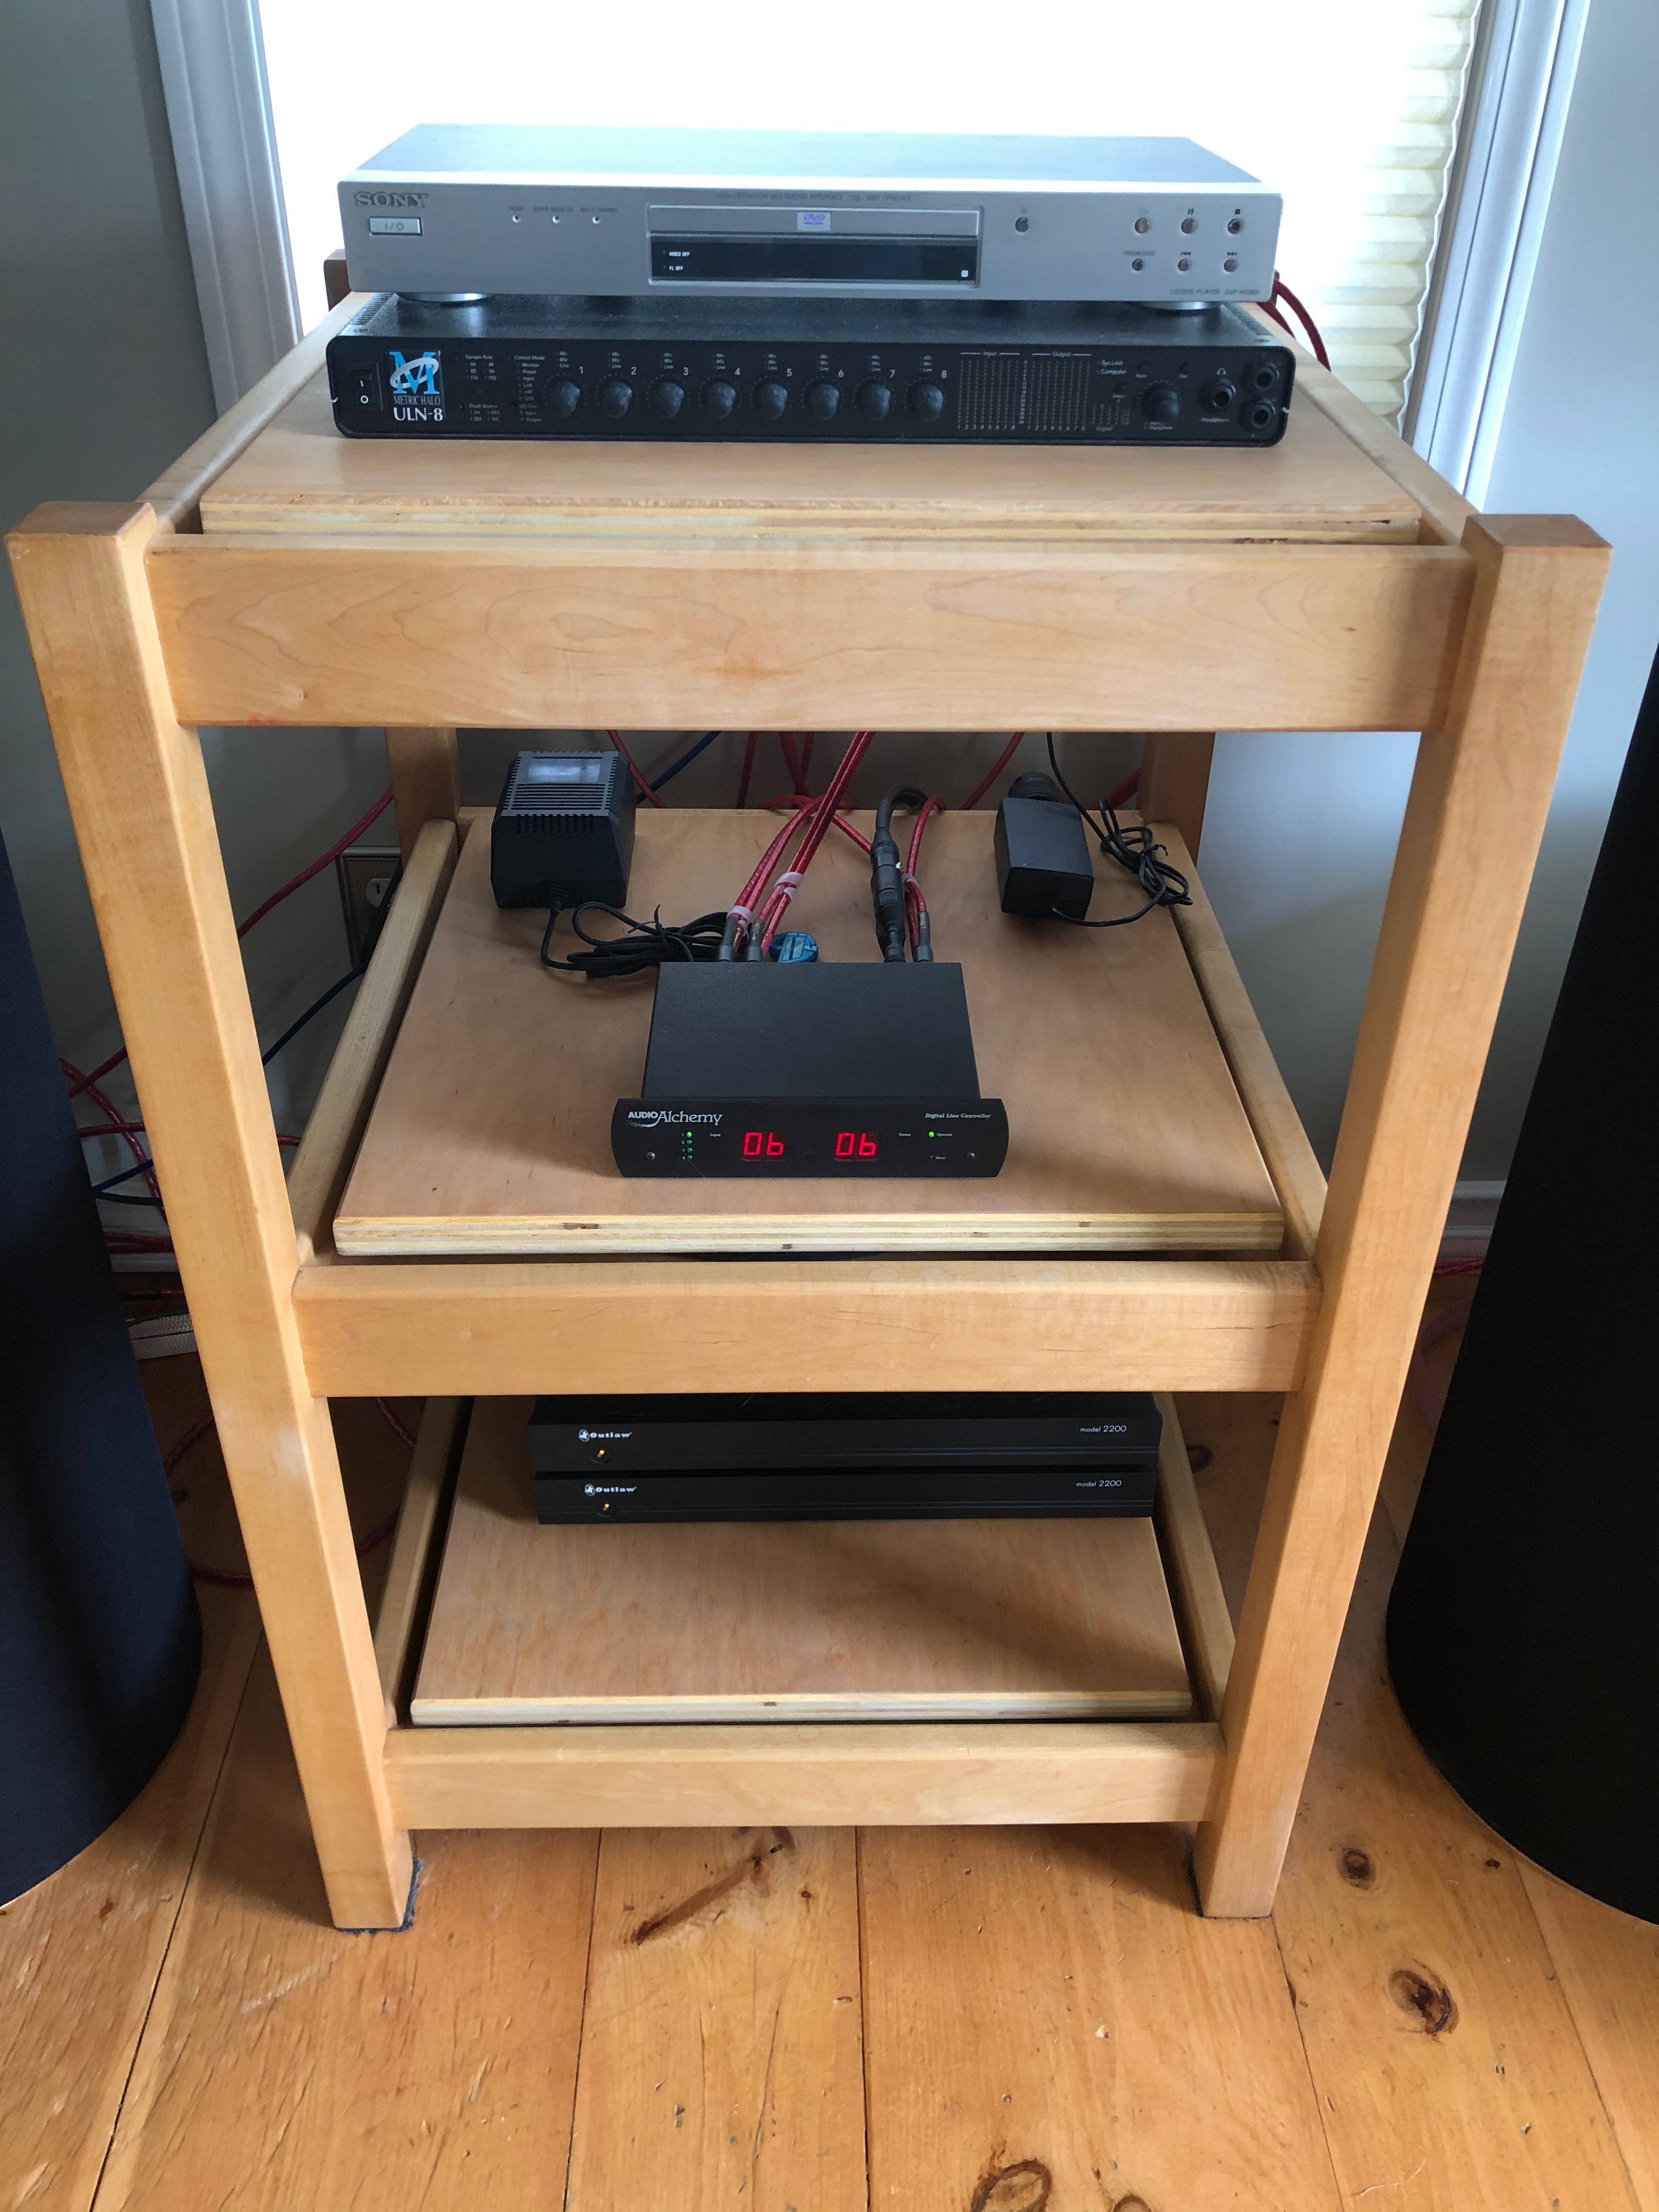
Set up the Enjoyyourshelf©
Setting up the Enjoyyourshelf© rack takes only a few minutes:
- If you decide to use them, screw the spikes into the threaded collars on the bottom of each leg.
- Place the superstructure of the rack where you want it.
- Place an inner tube on each shelf, and center it. Add a few pumps of air using a bicycle tire hand pump, just enough air to give the tube its circular shape and no more. Don't overinflate.
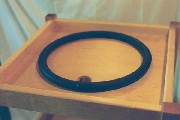
- Place the valve extension so it loops inside the circle described by the inner tube, leaving the free end of the valve at the access hole in the shelf. If desired, the valve cap can be placed on the free end of the valve extension but this is not necessary.

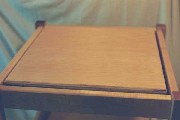
- Place a platform atop each inner tube, making sure the platform does not contact the side rails of the rack. It should only contact the inner tube.
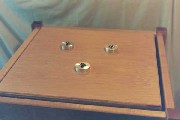
- (Optional) Place a set of three Hip Joints© on each platform. Arrange them in the largest equilateral triangle that will fit beneath the component they are supporting.
- Place components on the shelves, keeping the heaviest part of each component toward the center of its shelf. For example, if the component is heavier on the left than it is on the right, place it toward the right side of the platform, so its center of gravity is over the center of the shelf.
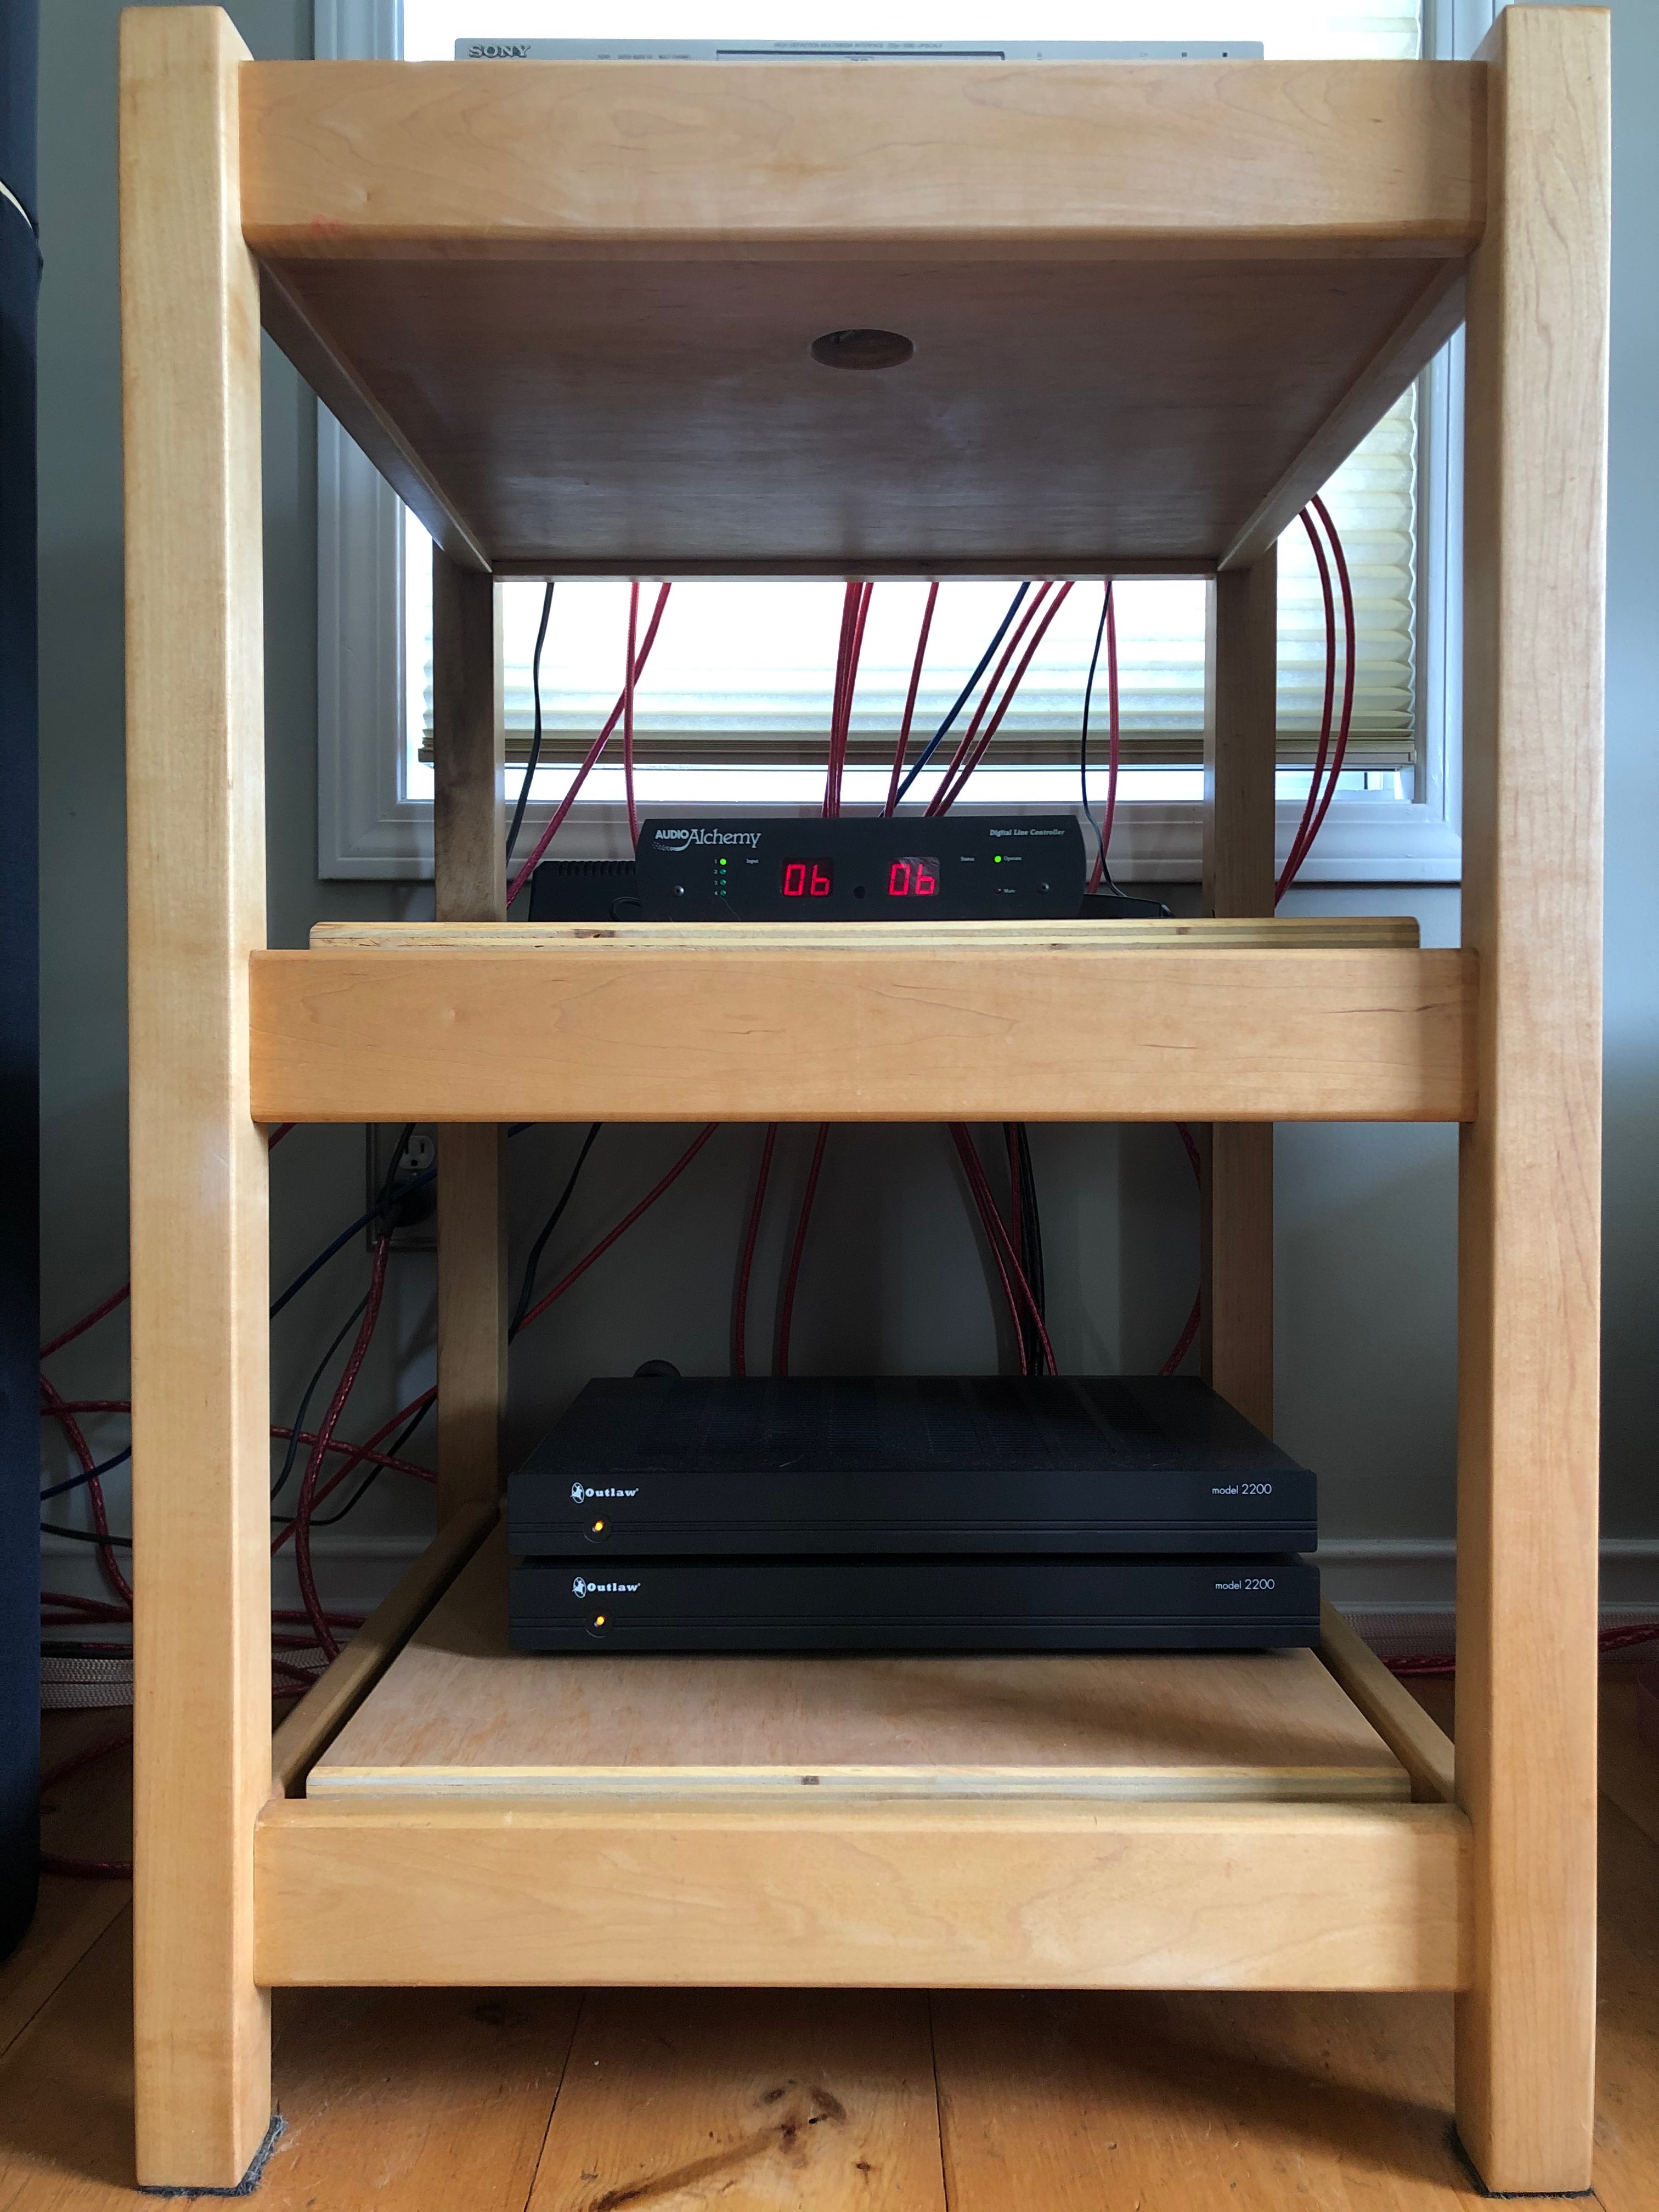
- Add or remove air from each inner tube as required. There should be only enough air to ensure the platform is not resting on the inner tube's inflation valve. The correct amount of air will lift the platform, while still allowing a slow bounce when a corner of the platform is depressed and then released. Occasional changes in inflation can be easily achieved by accessing the valve extension from the hole beneath each shelf. (No need to disassemble the system. Inflation can even be adjusted while music is playing to hear the effects.) Afterward, hide the valve extension by tucking it back into the access hole.
- Now it's time to Enjoyyourshelf©! Happy Listening!
